

Collections
-

All Collections
Shop All Miss Finch NYC Pieces!
-
Two Piece Sets
Miss Finch is proud to present our modest Two Piece Set Collection


-
Grey Jersey Polo Shirt and Matching Skirt Set
Regular price €78.00 EURRegular priceUnit price per -
Green Jersey Polo Shirt and Matching Skirt Set
Regular price €78.00 EURRegular priceUnit price per -
Knit Cardigan
Regular price €48.00 EURRegular priceUnit price per -
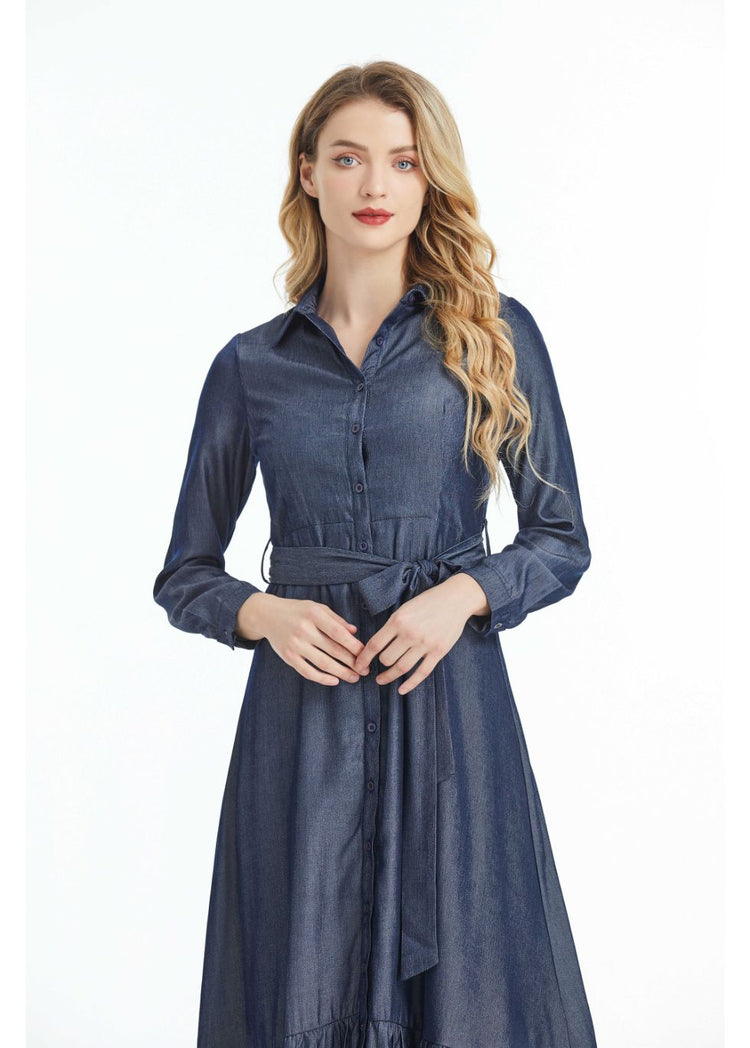
Sky Blue Pleated Midi Dress with Self Tie
Regular price €128.00 EURRegular priceUnit price per -
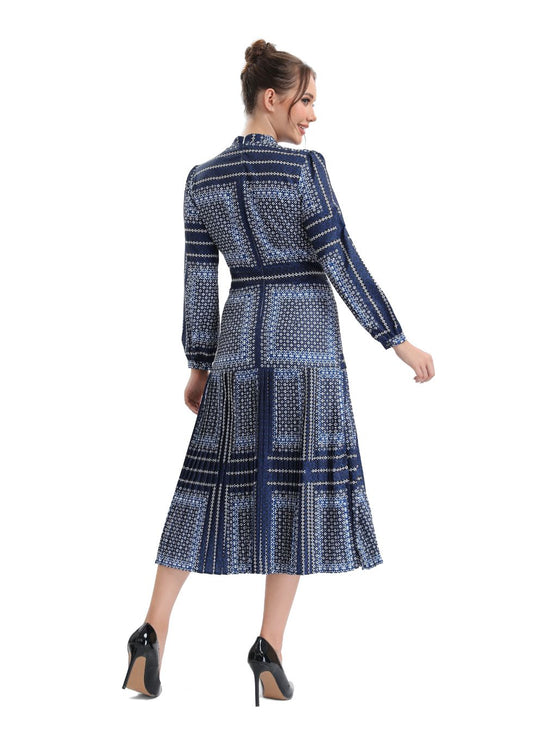
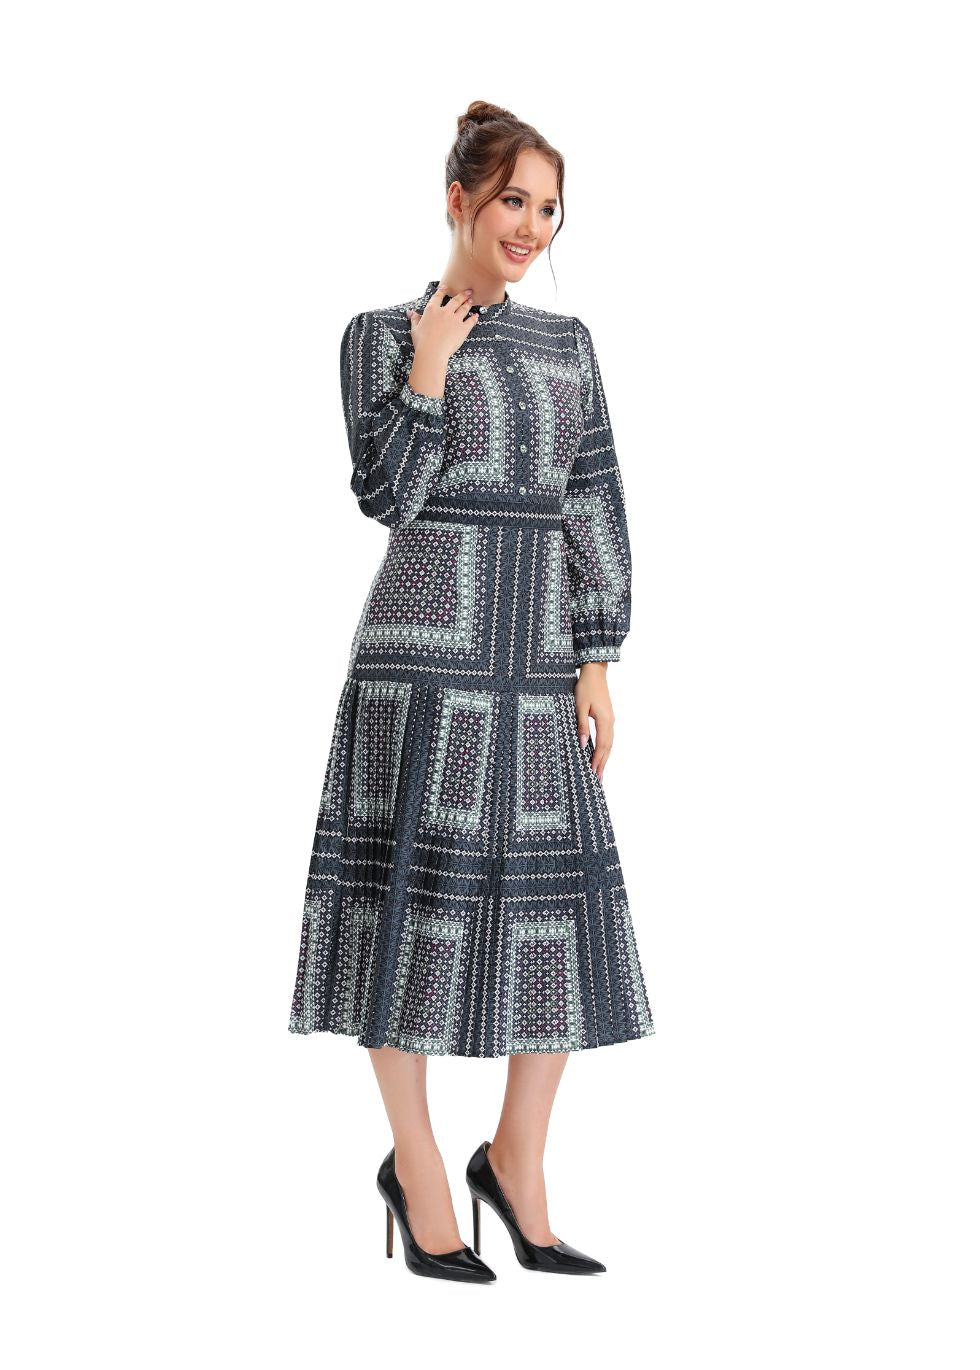
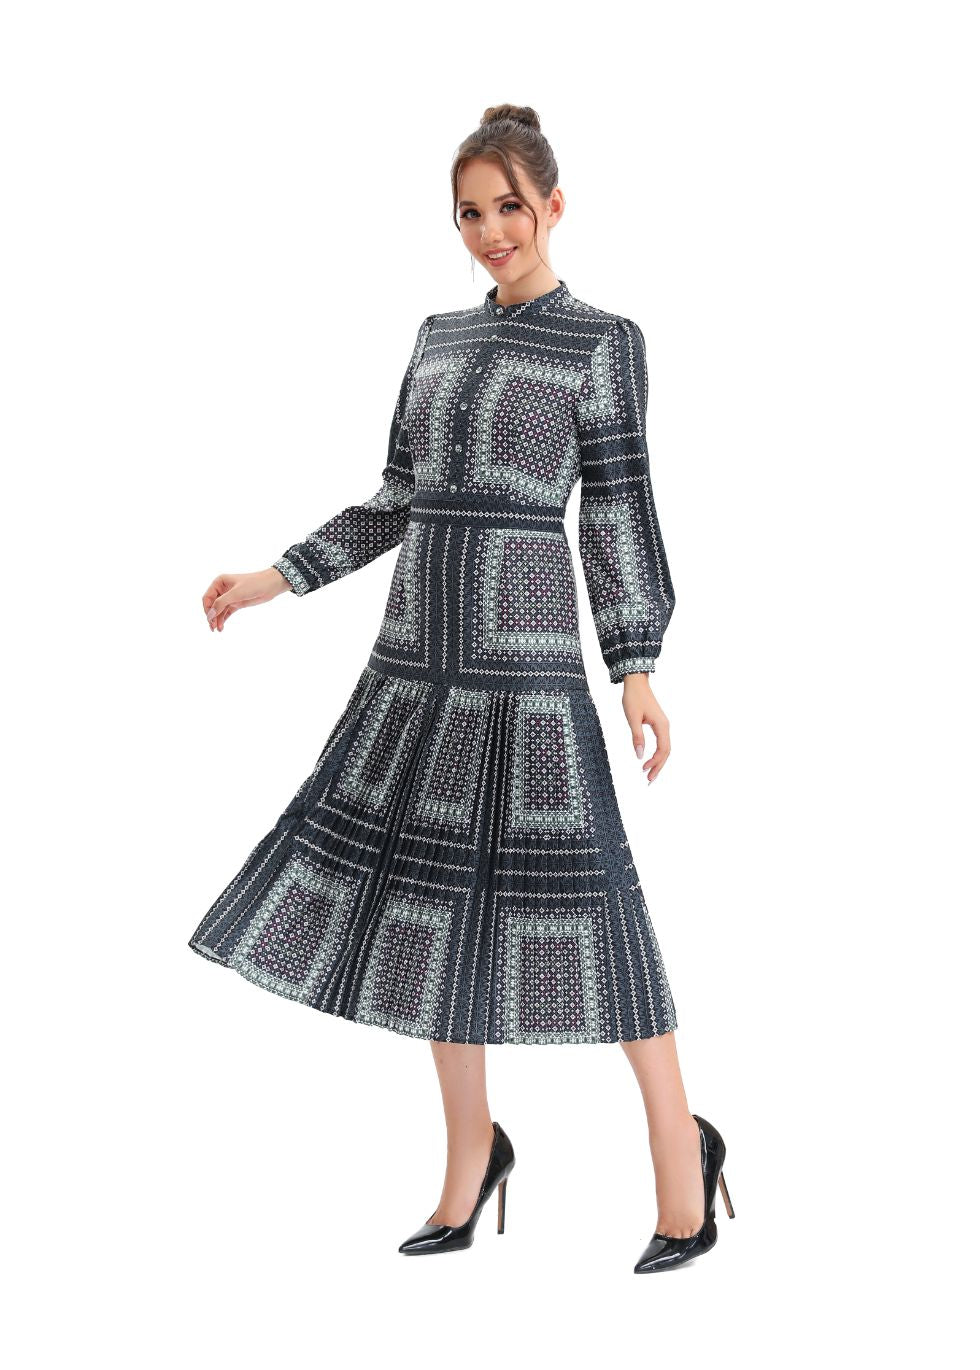
Navy Blue Vibrant Pleated Midi Dress
Regular price €118.00 EURRegular priceUnit price per -
Vibrant Green Pleated Midi Dress
Regular price €118.00 EURRegular priceUnit price per -
Elegant Black Lace Detail Two-Piece Set
Regular price €79.00 EURRegular priceUnit price per€128.00 EURSale price €79.00 EURSale -
Essential Black light weight Two-Piece Midi Set
Regular price €79.00 EURRegular priceUnit price per€128.00 EURSale price €79.00 EURSale -
Black Long Sleeve Top and Tiered Midi skirt Light weight Set
Regular price €79.00 EURRegular priceUnit price per€128.00 EURSale price €79.00 EURSale -
Chroma Print Midi Skirt
Regular price €29.00 EURRegular priceUnit price per€48.00 EURSale price €29.00 EURSale -
Colorful Print Midi Pleated Skirt
Regular price €48.00 EURRegular priceUnit price per -
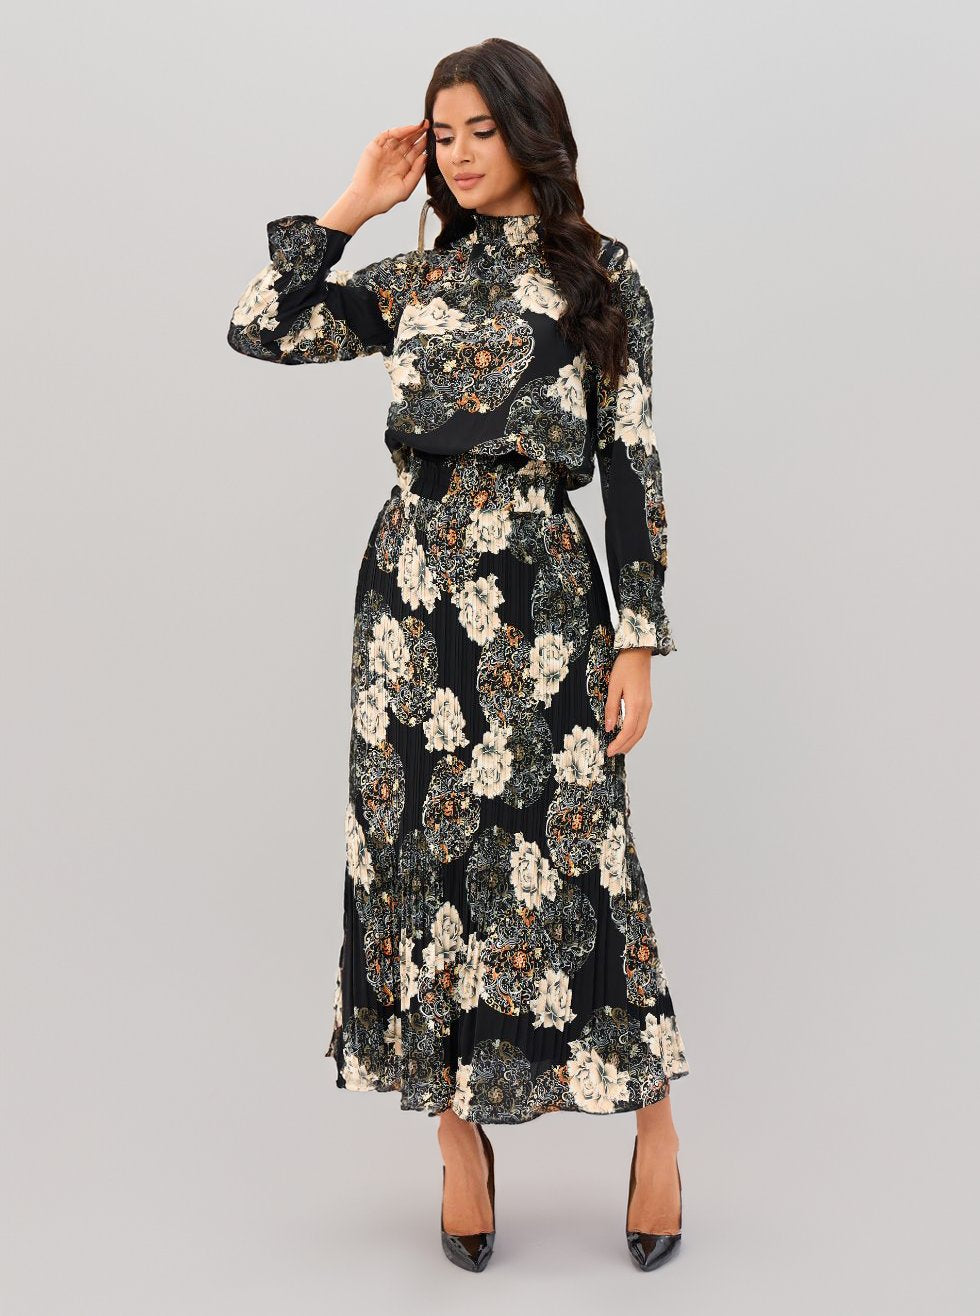
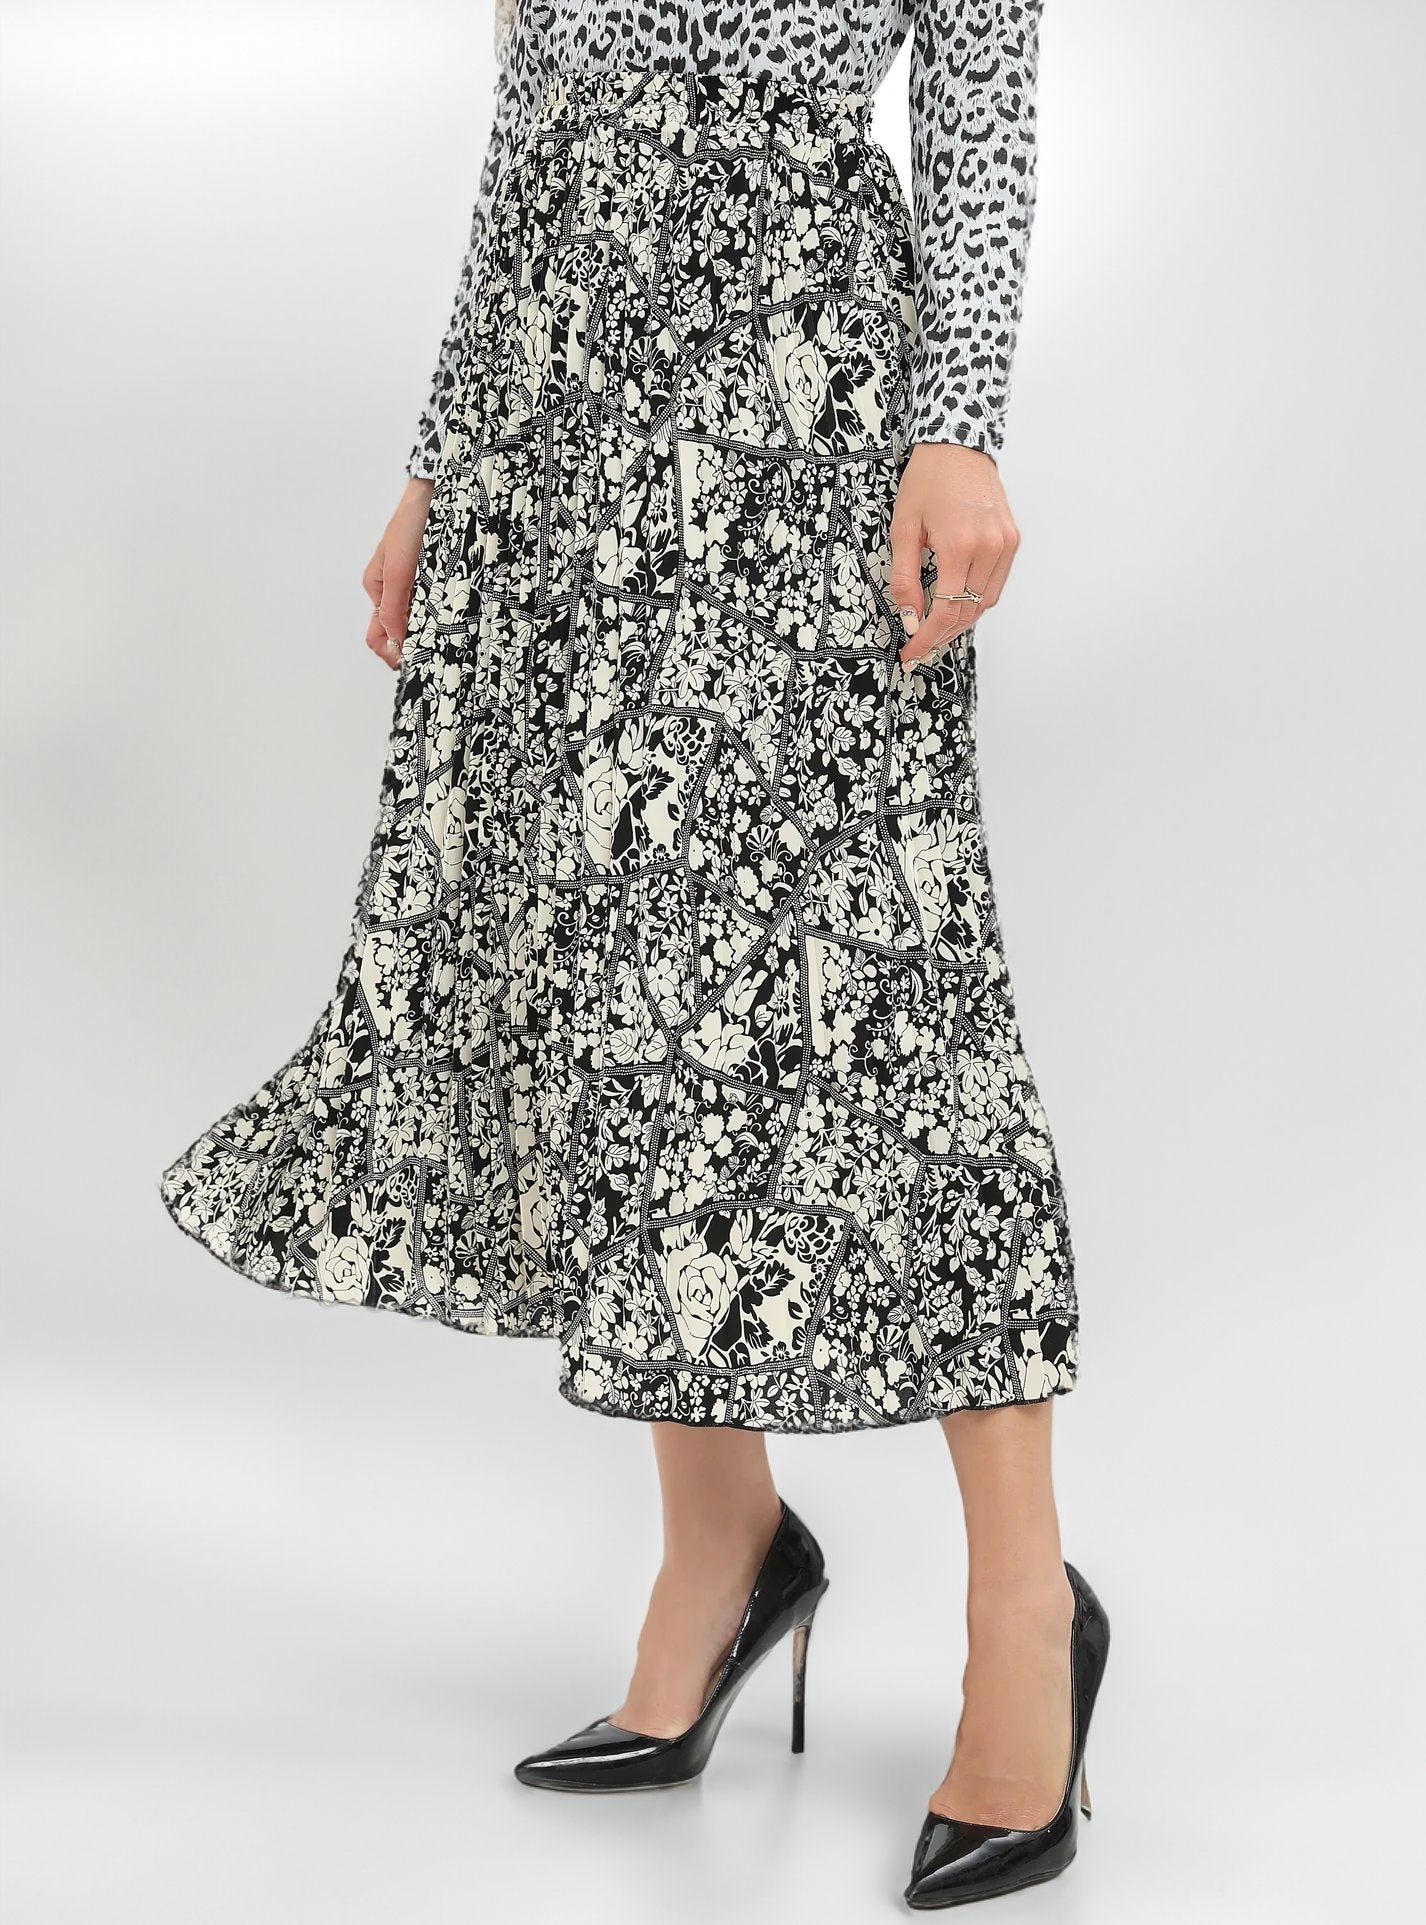
Monochrome Print Midi Pleated Skirt
Regular price €48.00 EURRegular priceUnit price per -
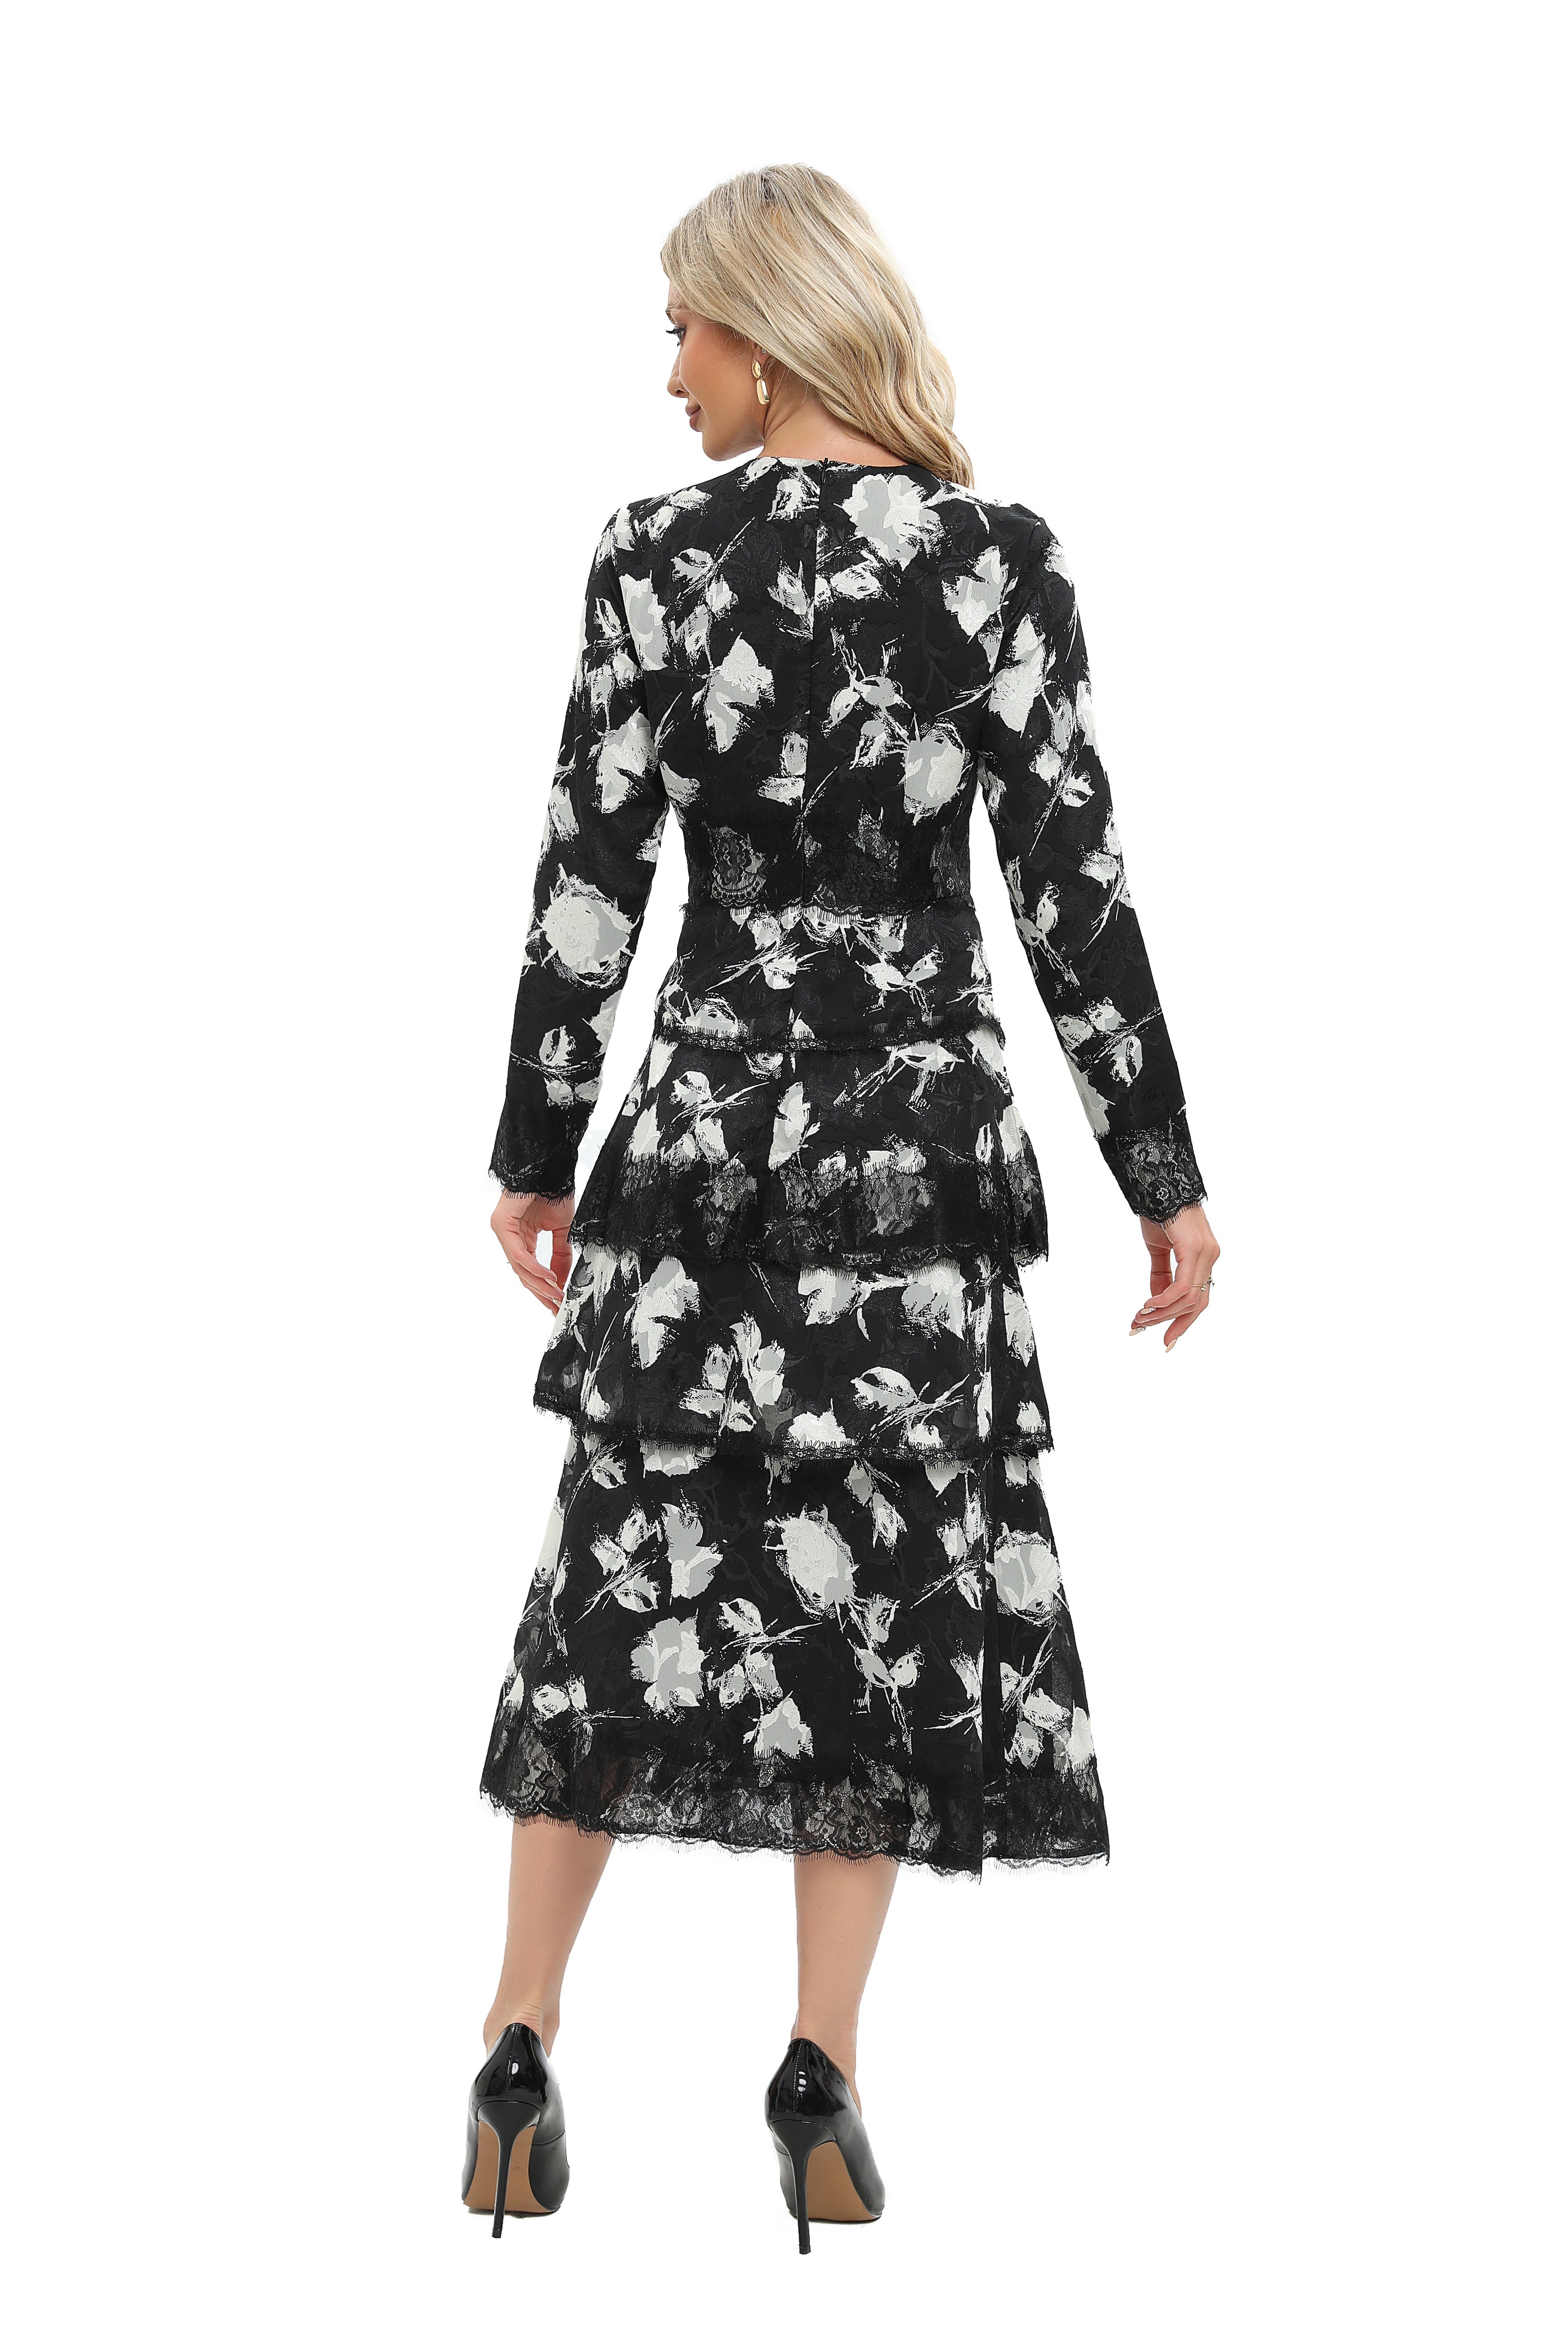
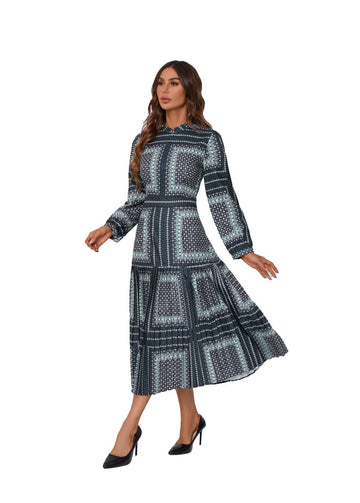
Monochrome Print Lace Detail Midi Dress
Regular price €108.00 EURRegular priceUnit price per -
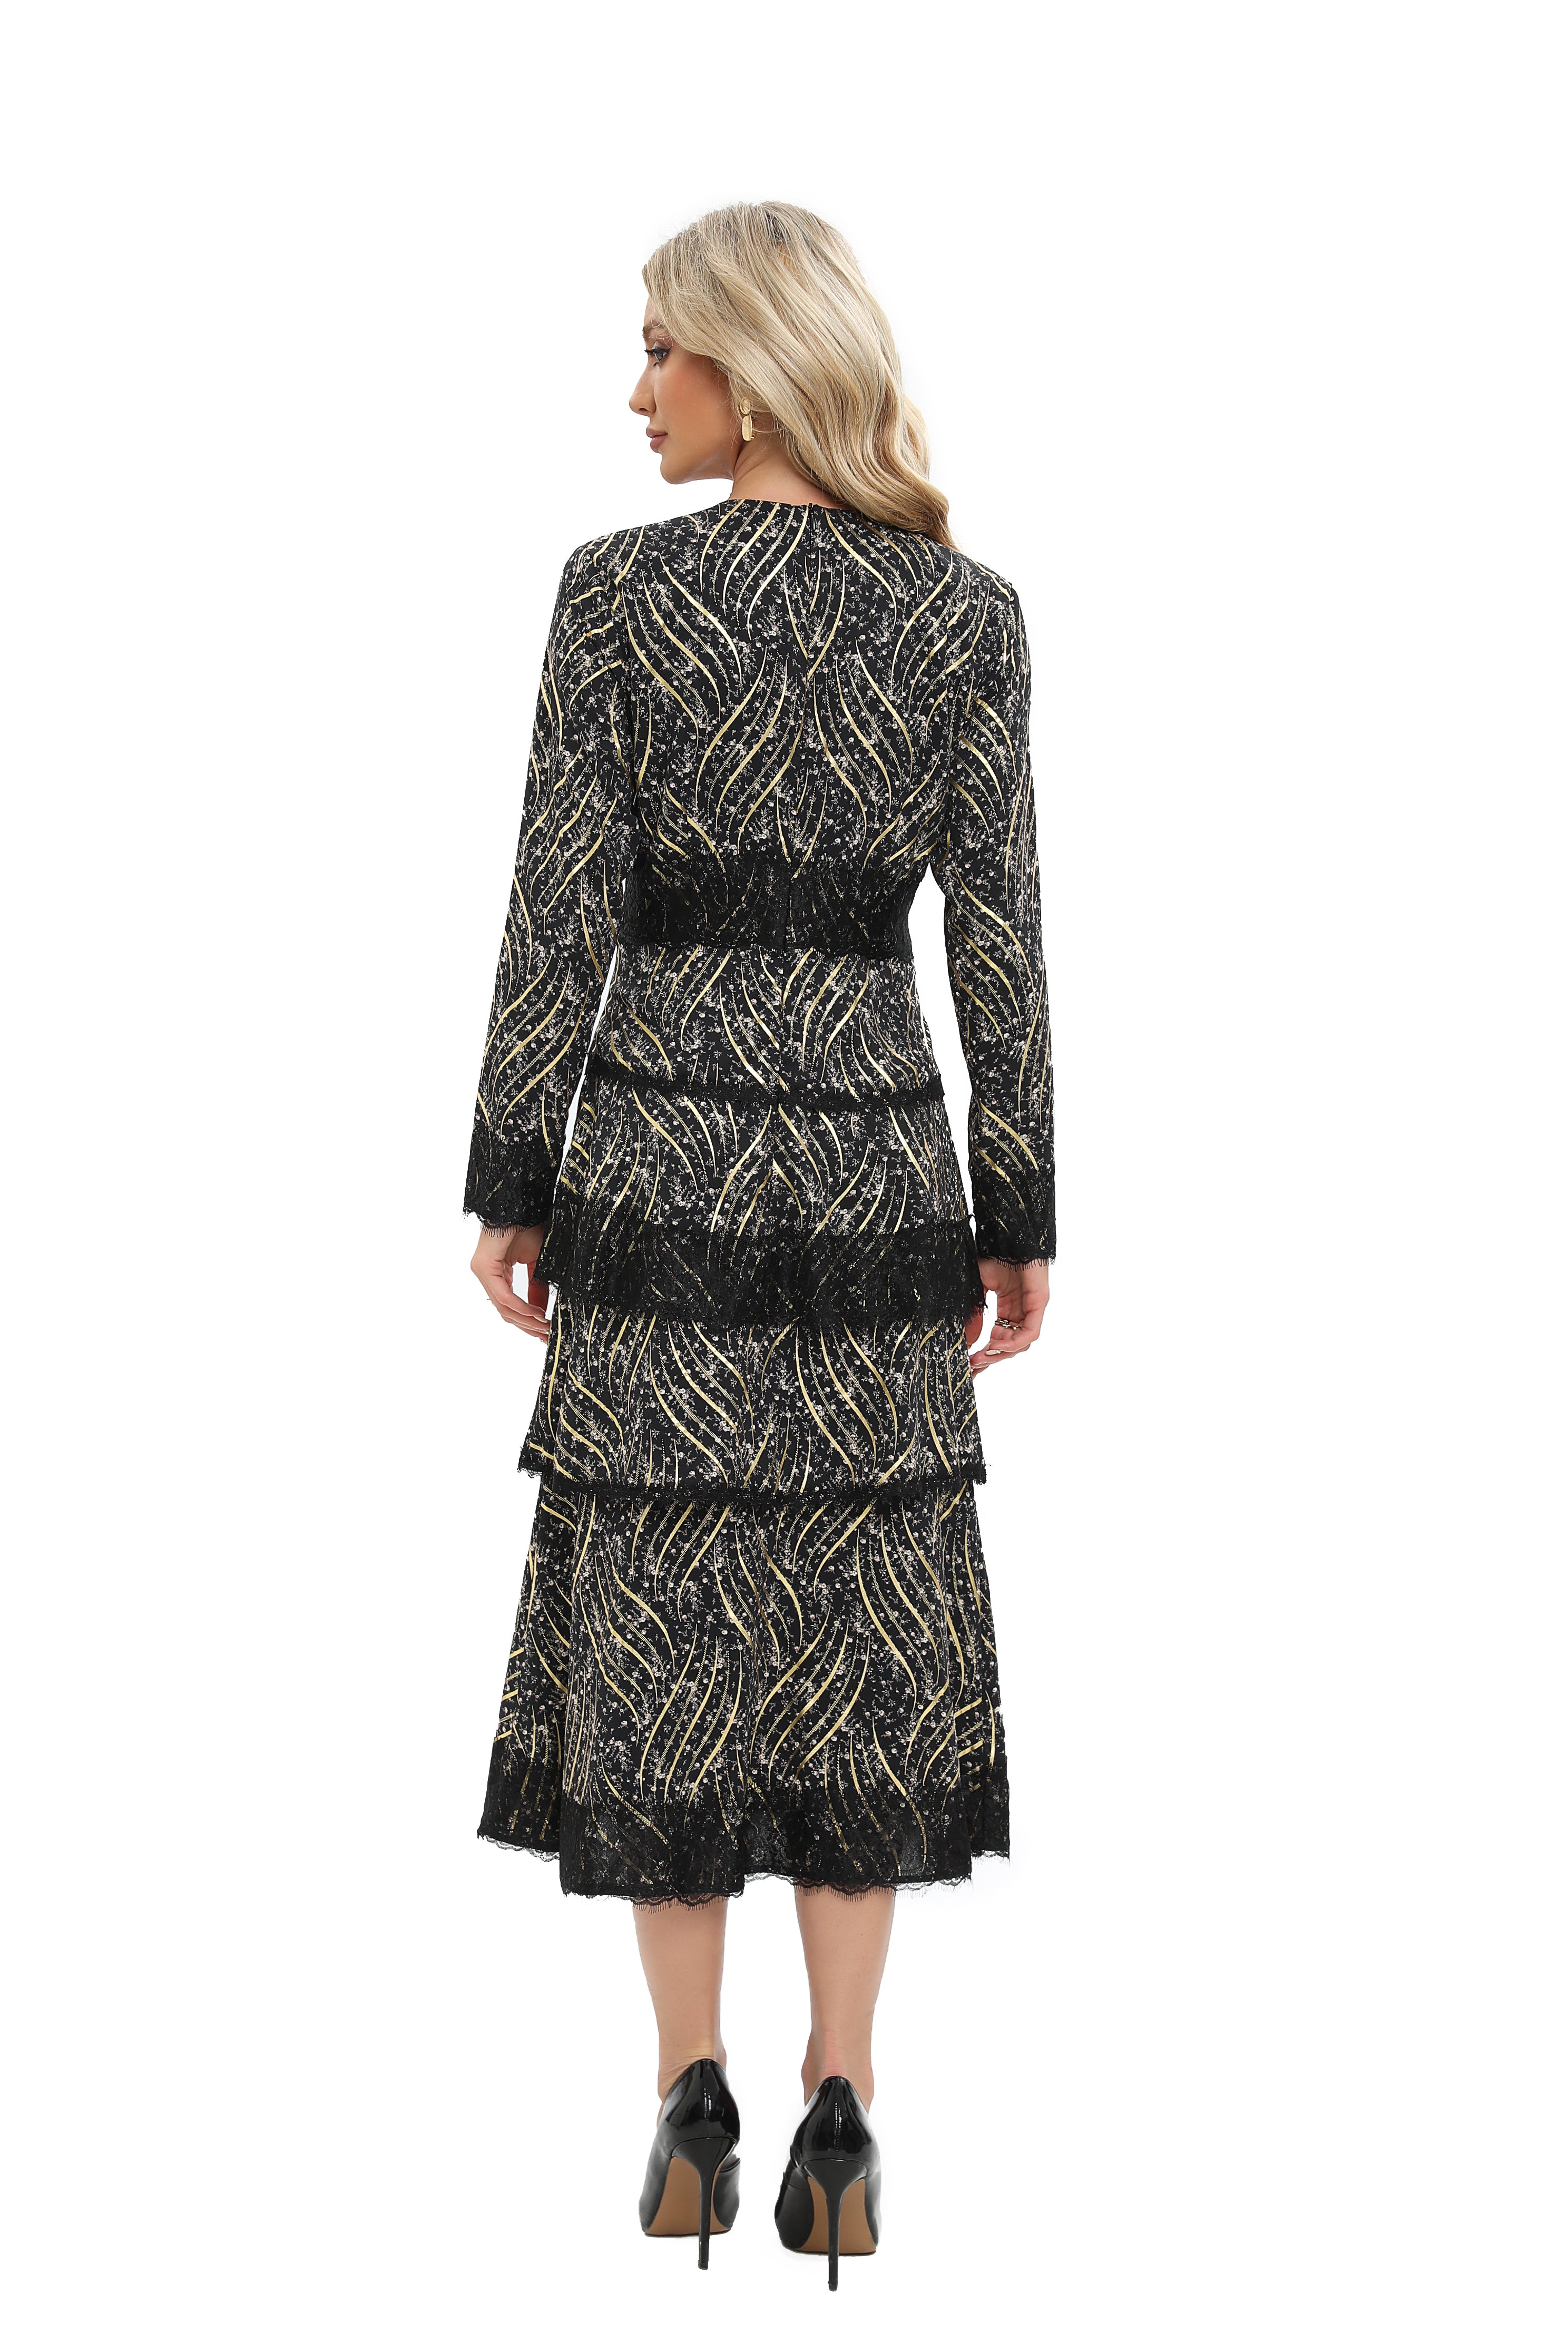
Gold Print Lace Trim Midi Dress
Regular price €118.00 EURRegular priceUnit price per


Everyday Luxury
Miss Finch NYC is a cute boutique unwavering in its commitment to quality.
We source only the finest materials, ensuring each garment is meticulously crafted with exceptional attention to detail.
Our bold originality distinguishes us from the rest, allowing women across the globe to express their individuality while maintaining their values.
We also aim to comply with Tsnius guidelines.
Follow Us on Instagram!
@missfinchnyc
